
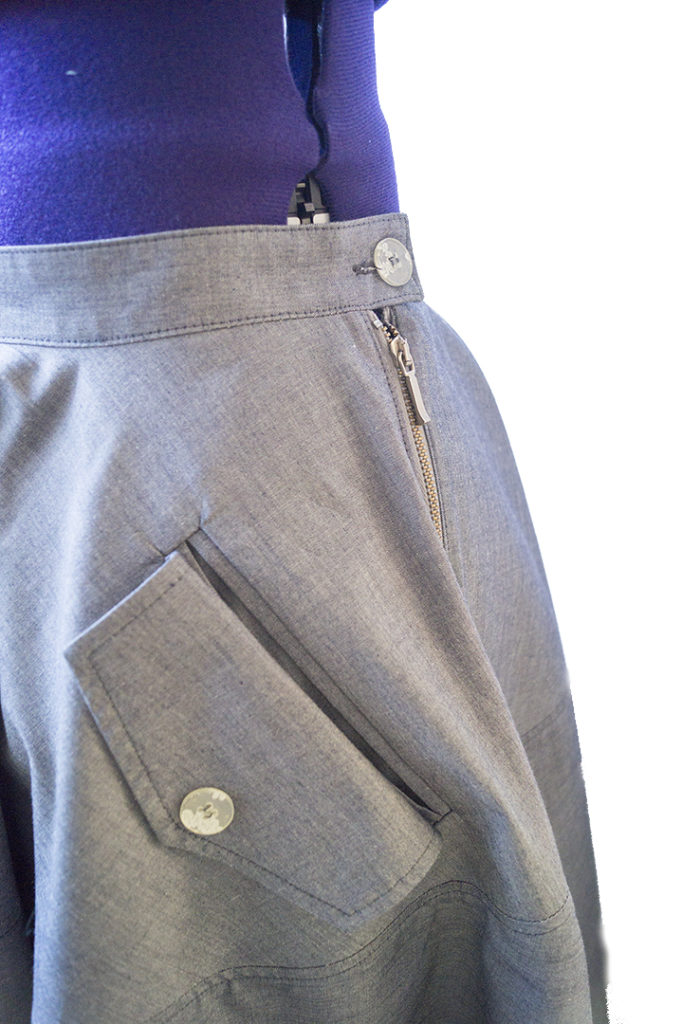
Iniziamo a cucire la finta patta della tasca a filetto! Today’s the day for the false flap for the welt pockets!
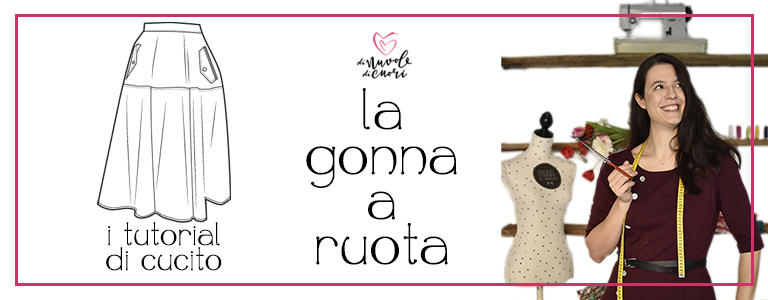
Benvenut*, la scorsa settimana qui abbiamo preso in esame gli elementi necessari per creare la nostra gonna a ruota presente su La Mia Boutique di Ottobre 2019! Oggi proseguiamo partendo dalla finta patta per la tasca a filetto!
Welcome back, last week here we have checked all the pieces you need in order to start sewing the full circle skirt published on the October issue of La Mia Boutique 2019! Today we see how to sew the false flap for the welt pocket!
Due note importanti prima di iniziare:
Tutti margini di cucitura che vedrai in questo tutorial sono di 1 cm per le cuciture e 0.7 cm per le impunture. Se preferisci farle diverse, adattale pure a ciò che preferisci! Prima di iniziare a cucire, consiglio spassionato per esperienza, arriva fino in fondo al tutorial per saperti regolare con tutti i passaggi ed avere un’idea generale.
Please read this before starting:
All seam allowances in this tutorial are 1 cm and 0.7 cm for topstitching. Feel free to adapt them to you if they don’t suit you! Before starting to sew, a little bit of unwanted advice, read carefully through all of the tutorial, to have a complete idea and know where you’re going.
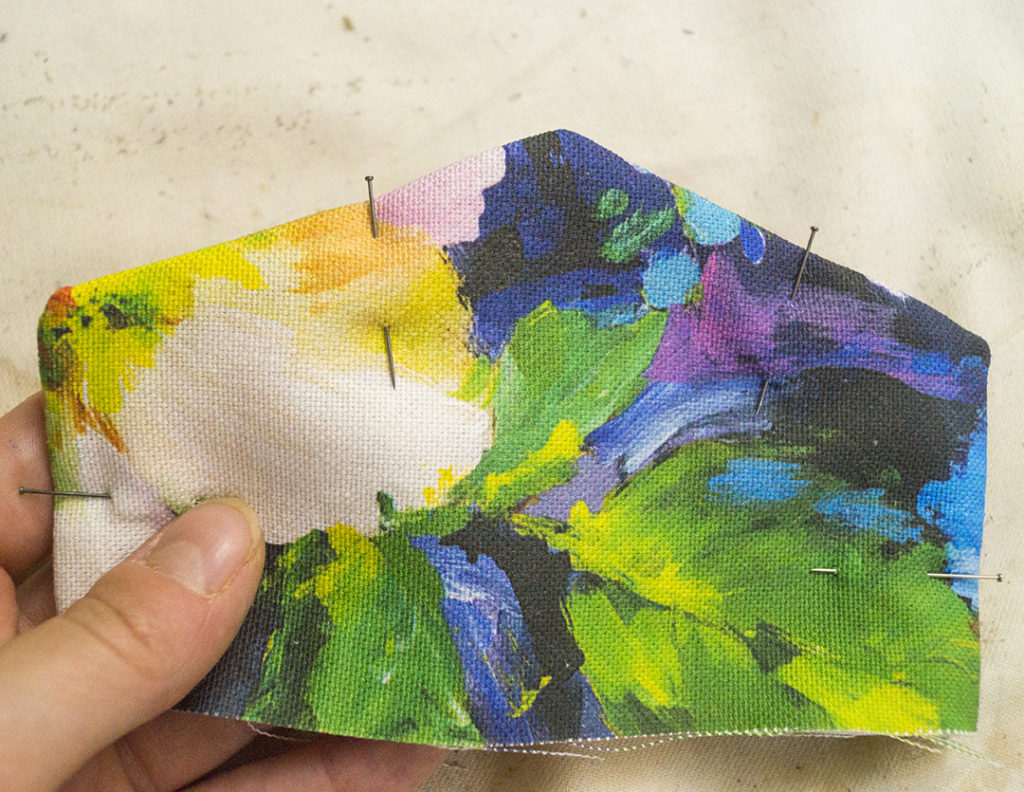
Le finte patte della nostra gonna sono 4, ne prendiamo due e tagliamo l’adesivo per rinforzare le nostre patte e ne tagliamo solo due pezzi, anziche’ 4.
The false flaps of our skirt are 4, take 2 and cut the interfacing needed to reinforce them. The other 2 pieces stay without interfacing.
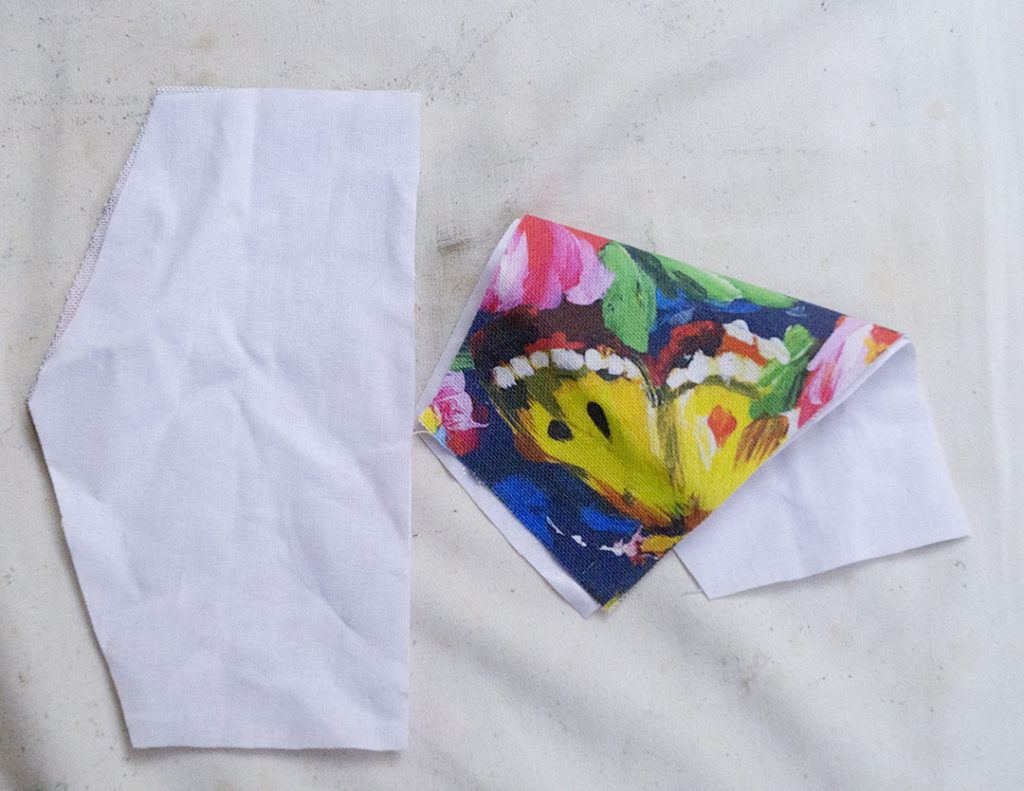
Procediamo con applicarlo al rovescio della patta con il ferro. Iron the interfacing to the wrong side of the flap.

Ora passiamo alla macchina da cucire e appaiamo una patta con l’adesivo ad una senza e cuciamo ad 1 cm. Now onto the sewing machine and pair one flap that has interfacing and one that doesn’t have it and sew them together with a 1 cm of seam allowance.
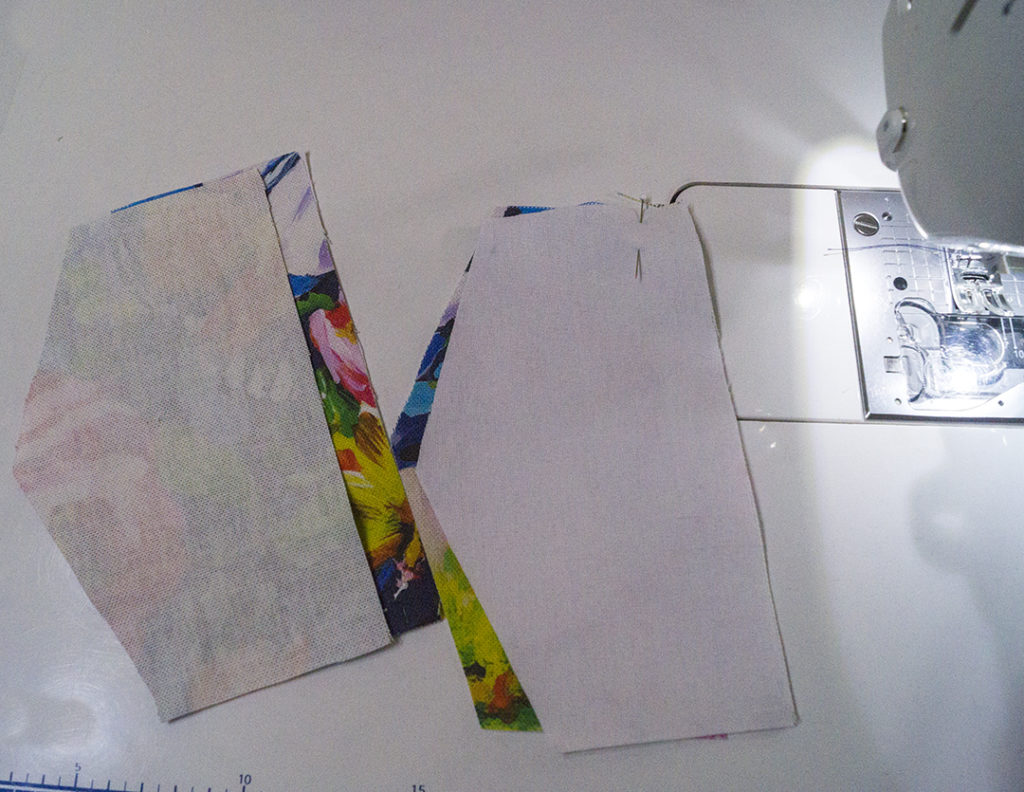
La patta cucita. The sewn flap.
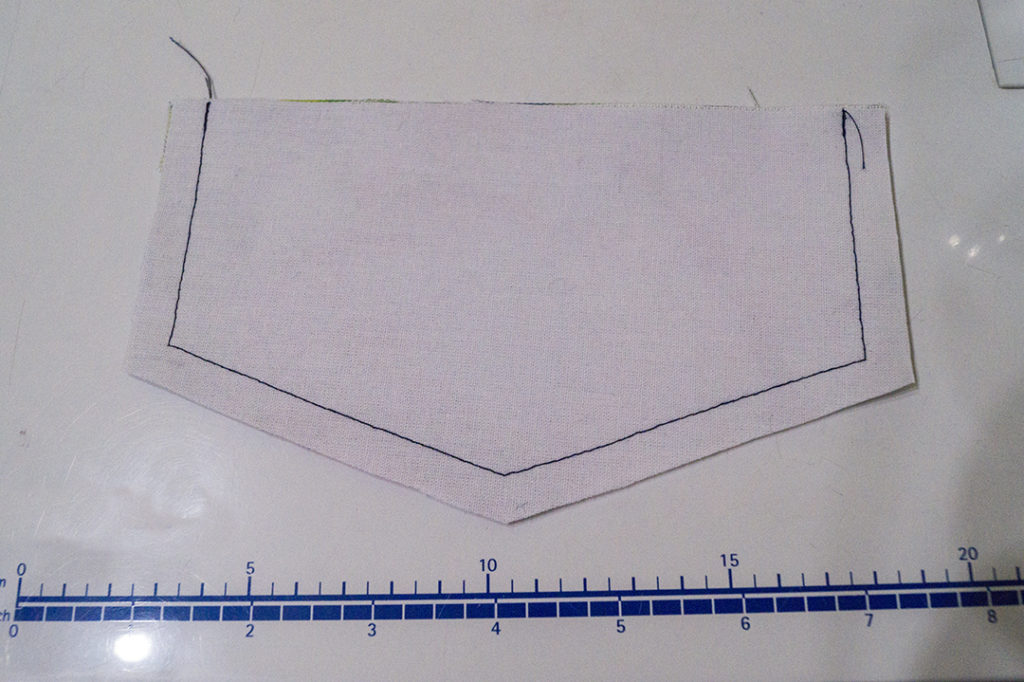
Se cucire senza margini segnati sui bordi ti mette in difficoltà, prendi il tuo righello e segnali prima di iniziare.
If sewing without seam allowance makes you uncomfortable, take your ruler and trace them.


Può succedere però, che se il gesso non è perfettamente appuntito come il mio, quando si cuce e si segue il cm di cucitura, il segno del gesso sia più all’interno rispetto alla cucitura. It may occur that if your chalk is not perfectly sharp, seam allowances are not even and the seam allowance goes a little bit outside of it.

Ora spunta i margini esterni dove la cucitura fa la punta. Now trim the seam allowances where the seam does an angle.
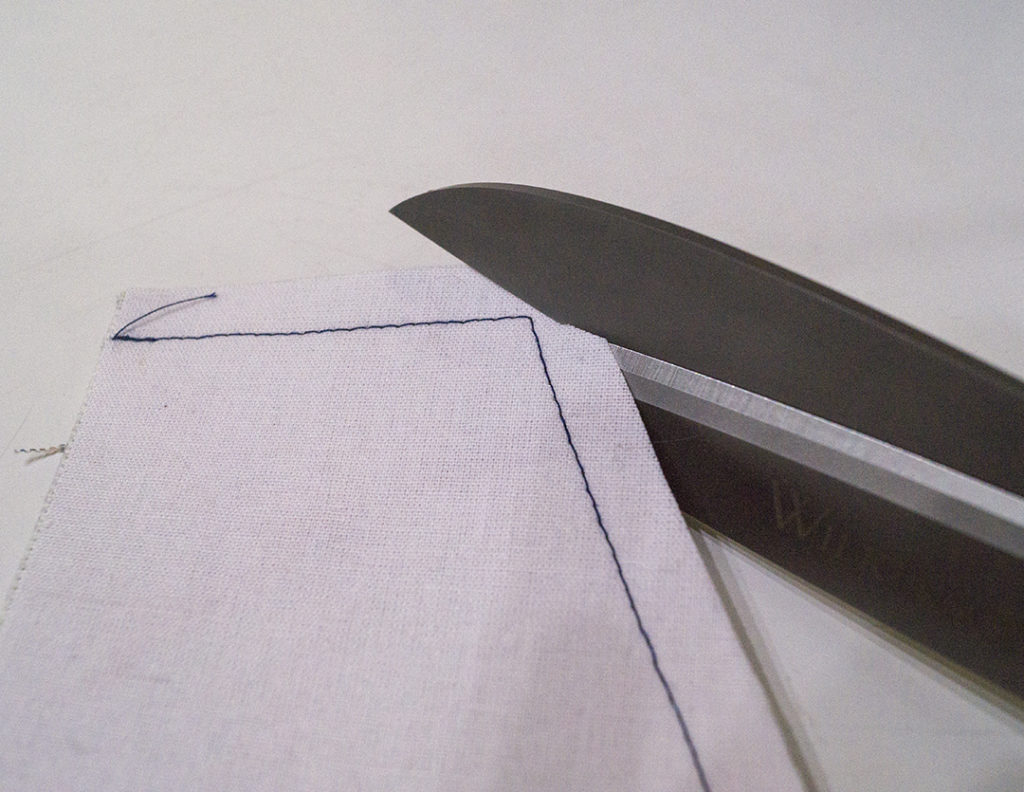
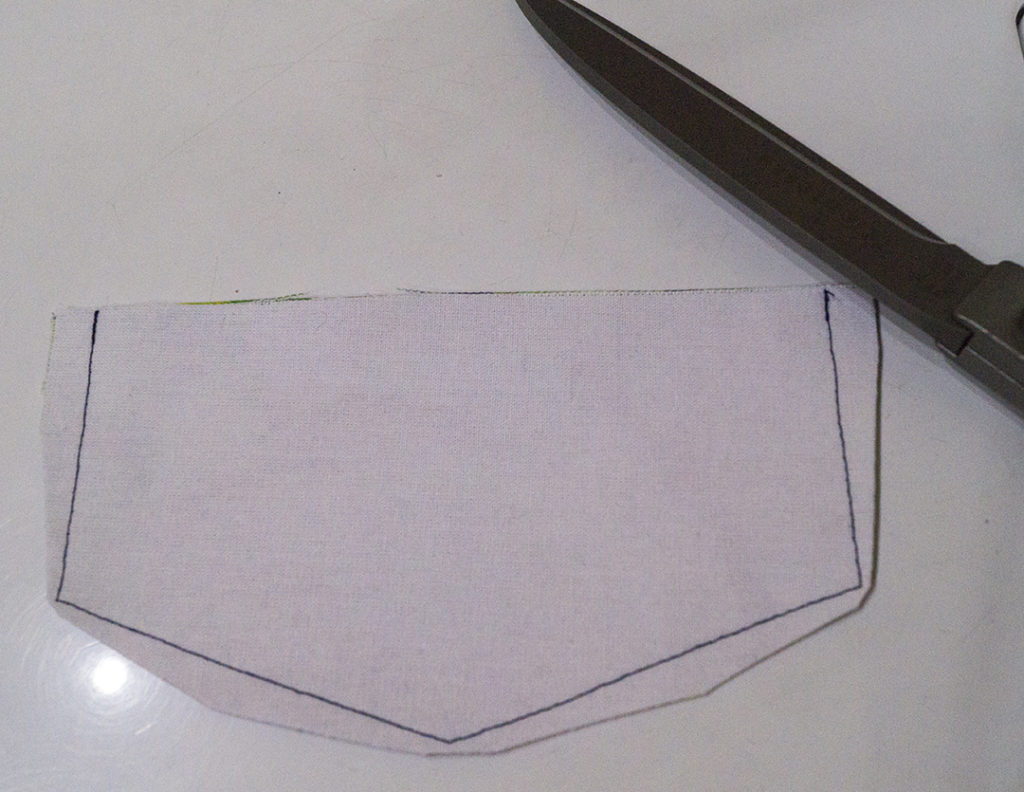
Ripeti l’operazione per tutti gli angoli restanti. Lascia la parte superiore con tutto il margine di cucitura, tornerà utile nella prossima operazione. Repeat the trimming for the remaining angles. Leave the upper part with the full seam allowance, you will need it shortly.
E’ arrivato il momento di girare la patta! Apri la cucitura con il pollice. Let’s open this flap! Open the seam allowance with your thumb.
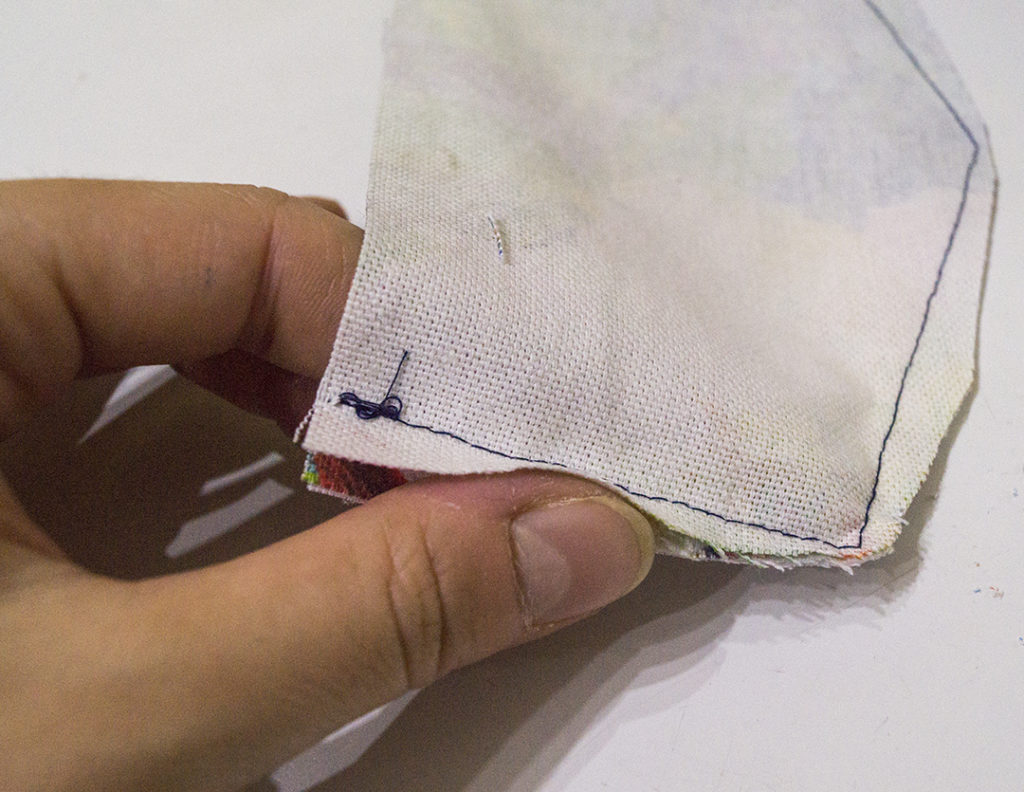
Sposta il pollice verso la punta e fai girare l’angolo. Move the thumb toward the point and turn it.

Così: – Like this:
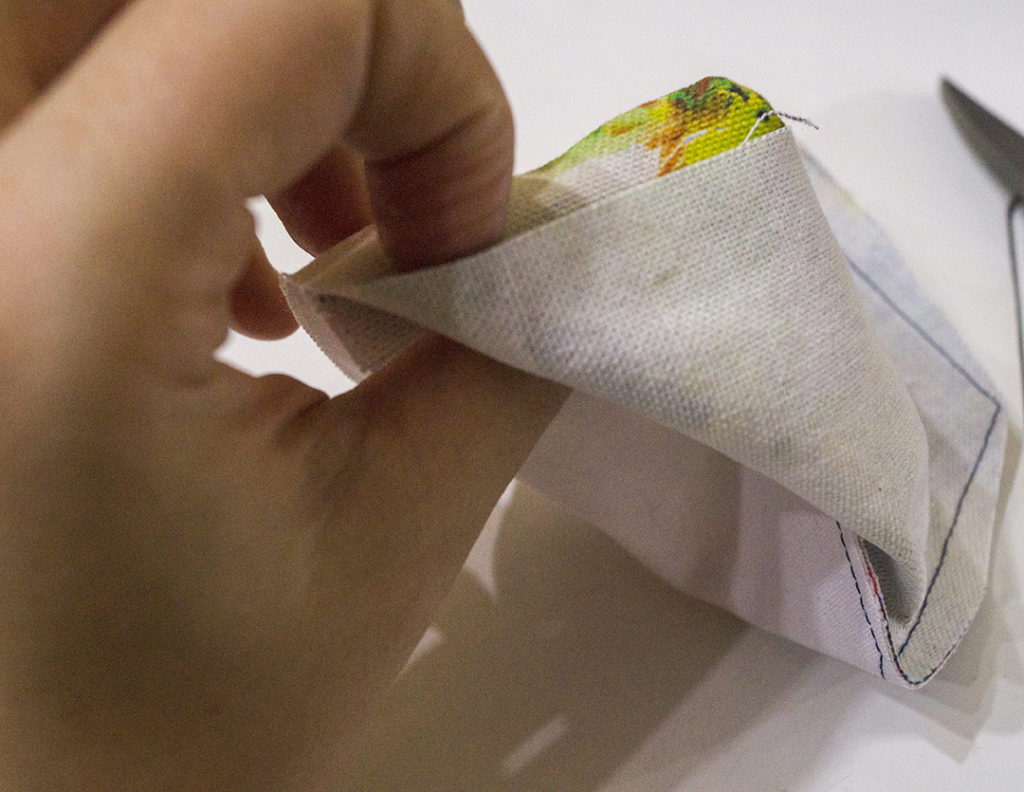
La patta è girata in maniera non perfetta, ma è girata! The flap is turned, even though is not perfect!
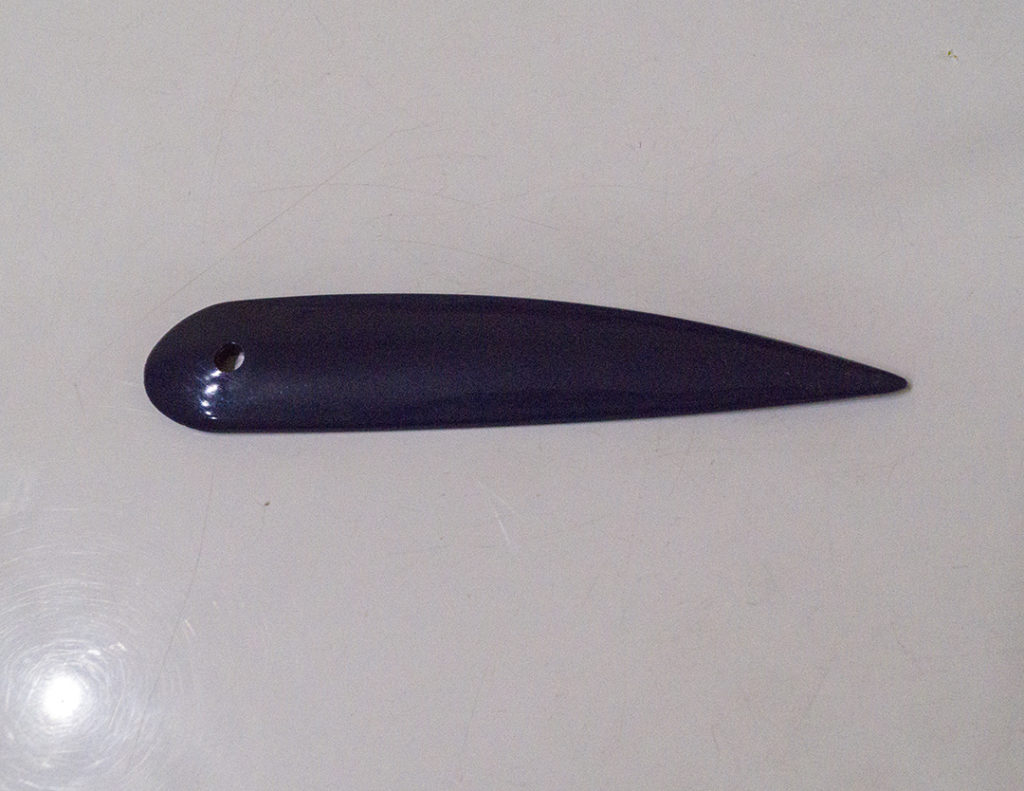
Per formare gli angoli e bordi, io ho acquistato tempo fa il forma angoli e bordi della Prym, ma se non ce l’hai, la punta delle forbici, un ago da lana, qualcosa di un pochino appuntito, andrà benissimo lo stesso! To create the angles, I bought a few months ago this Prym corner and edge sharper, but if you don’t own it, no problem! A scissors point or a wool needle will do the job properly too!
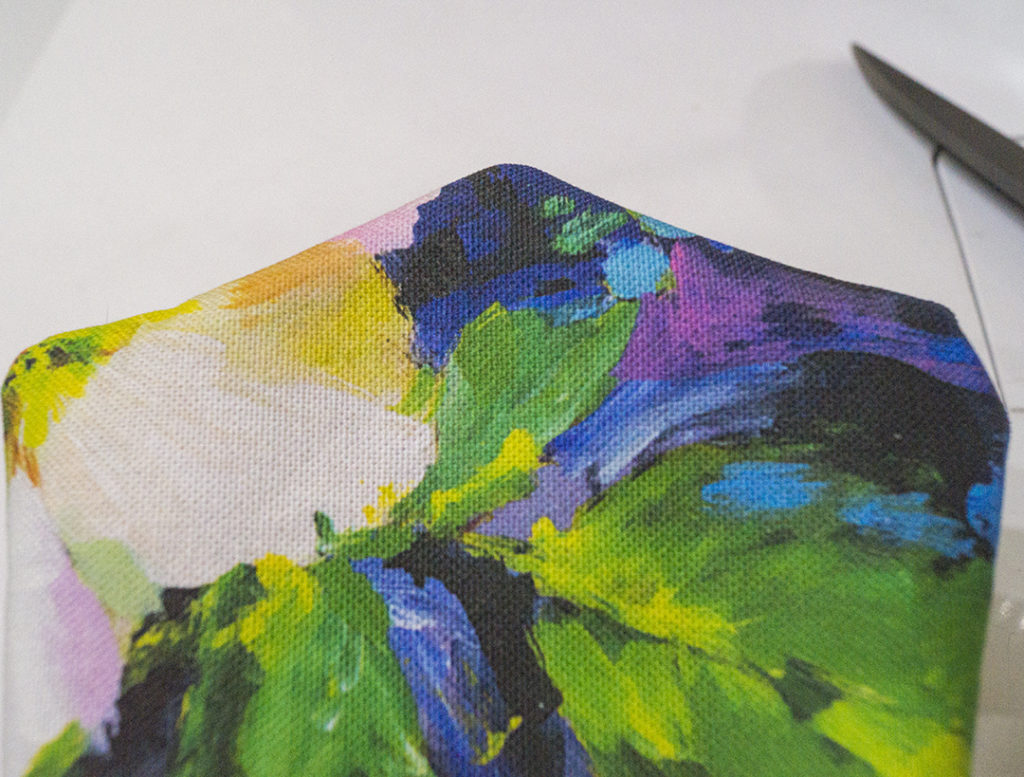
Inserisci il tuo strumento all’interno dei tuoi angoli e procedi a renderli uniformi. Insert your tool inside the angles and sharpen them.
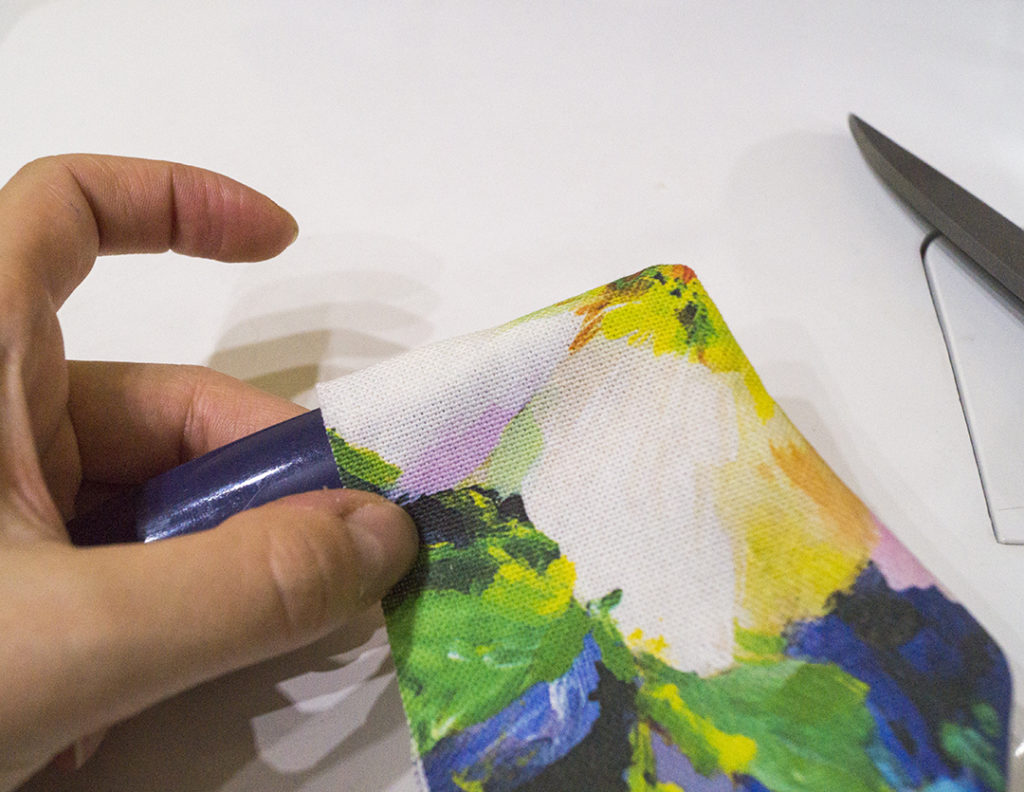
Così: – Like this:

Passa ad inserire gli spilli nei lati lunghi per rendere la patta la più piatta possibile. Add some pins to the long sides of the flap. They help the flap to flatten down.
Poi passa a stirarla per renderla effettivamente piatta: ciò ci aiuterà a cucirla nel prossimo passaggio. After the pins, off to iron it: this will really flatten it and it will help it in the next step.

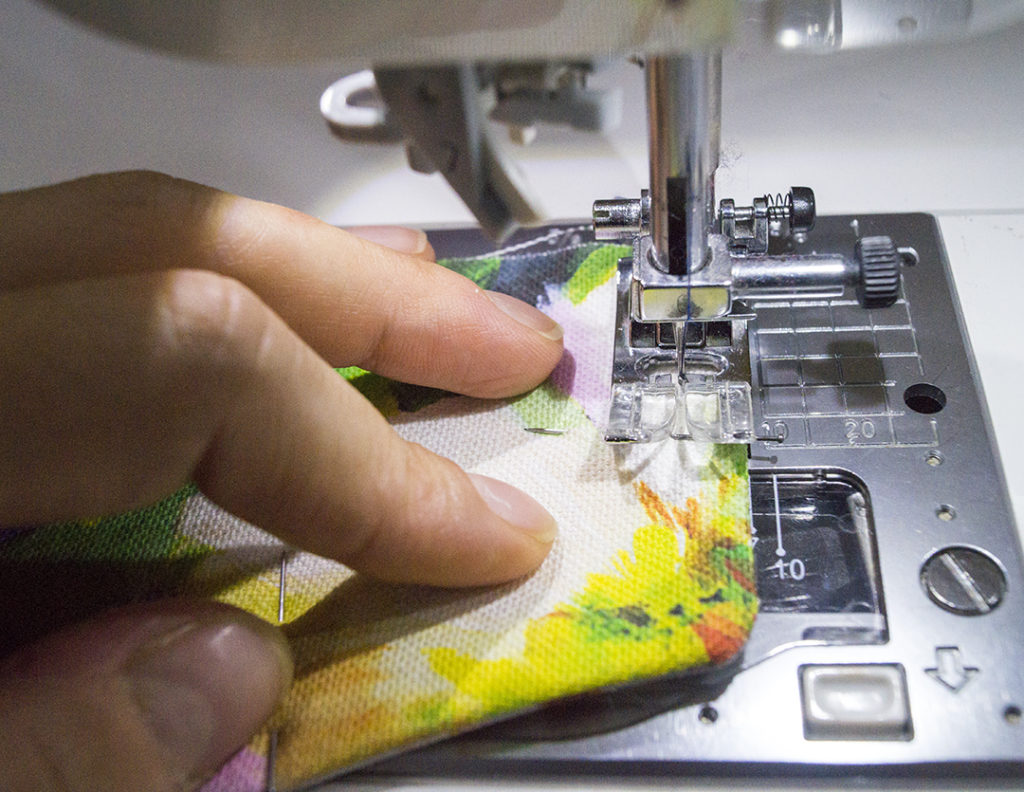
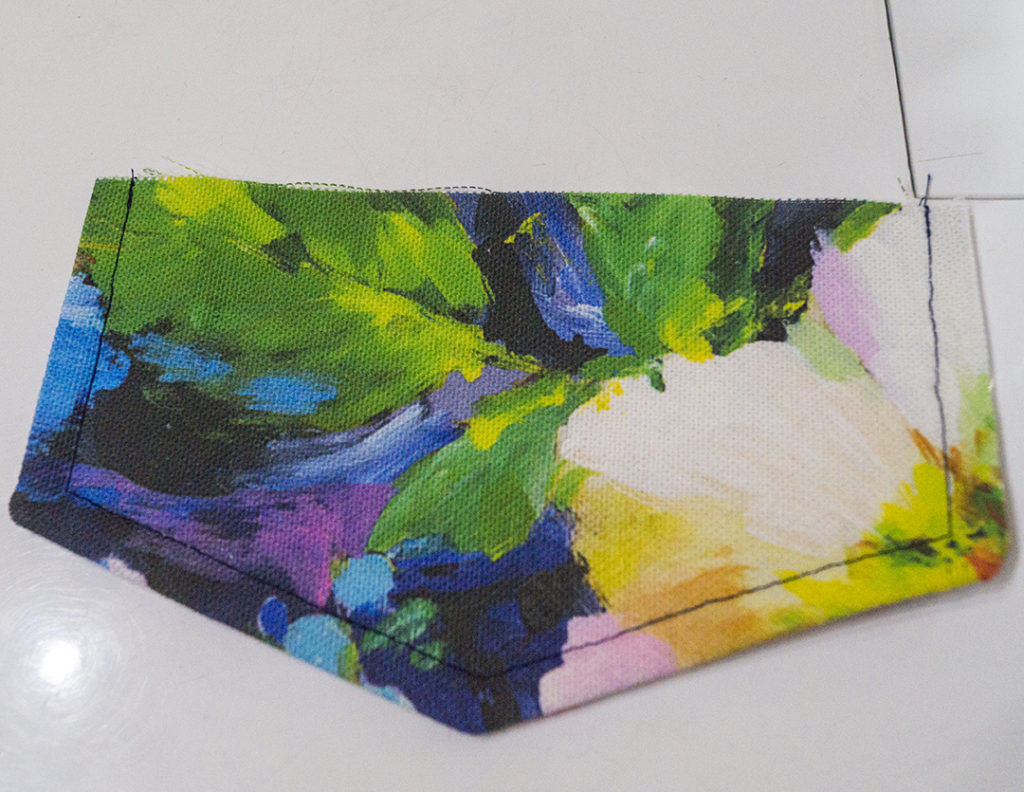
E’ arrivato il momento di impunturarla: posiziona la tua patta a 0.7 cm dall’ago e cuci l’impuntura: questa operazione serve per rendere stabile la patta. Topstitching time: place your flap to a 0.7 cm distance from the needle and sew it. This step helps the flap to maintain its shape.
Ed ecco qui la tua patta impunturata! And here you have your flap!
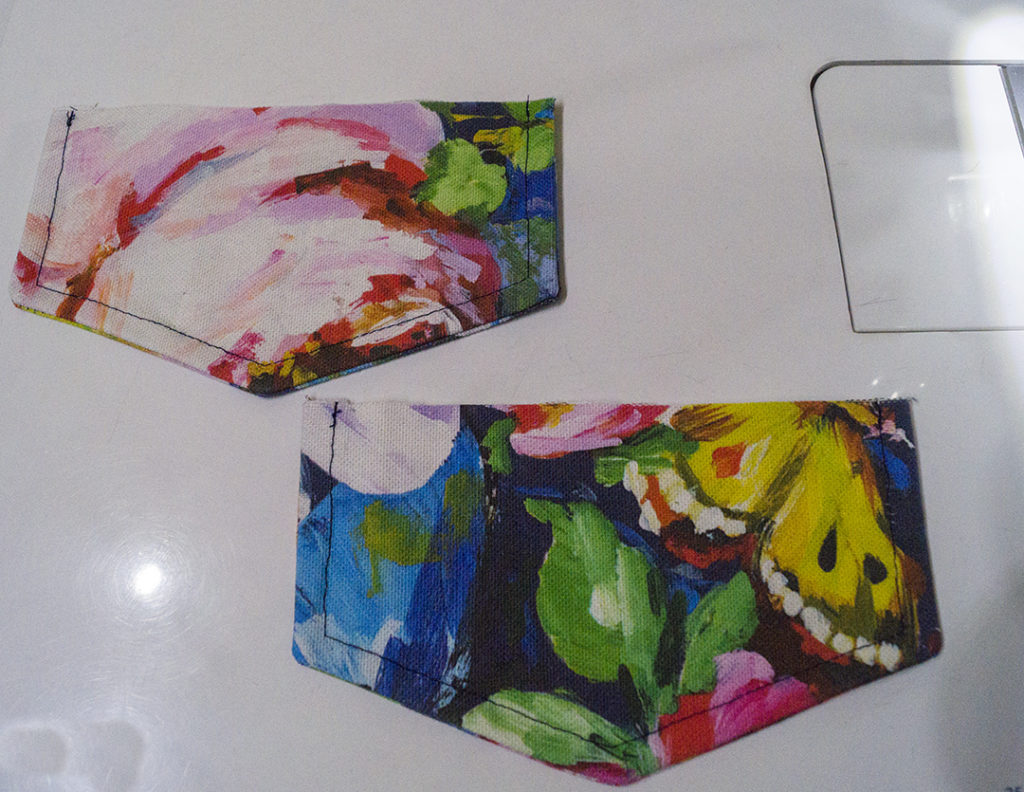
Ripeti tutte le operazioni per entrambe le patte: scegli come muoverti, puoi creare una patta alla volta oppure fare le stesse operazioni per entrambe le tasche in sequenza, per velocizzarti il lavoro! Repeat all the operations for both flaps: choose what works best for you! Create one flap after another or repeat each step for each flap, it’s up to you!
Bene, per oggi abbiamo creato la patta per le tasche a filetto della nostra gonna a ruota, prossima volta proseguiamo con la creazione delle tasche a filetto della gonna.
We’re done for today with the preparation false flap of the full circle skirt! Next time, we’ll go on with the welt pocket!

Ciao, alla prossima, vi aspetto ! See ya!
Se ti va di seguirmi su Instagram o Facebook, mi trovi con il nome DiNuvoleDiCuori!
You can find me on Facebook or Instagram looking for DiNuvoleDiCuori!
Post in collaborazione con LaFab Tessuti
Autore

Sarta per passione. Pompelmo rosa e cedrata lover. Benvenut*!