
Ciao e bentornat*! Oggi il tutorial entra nel vivo con la seconda parte! Welcome back!
La scorsa volta abbiamo preso in esame tutti i vari pezzi del cappotto qui , oggi passiamo alla pratica.
Last time we checked all the coat elements here , now we get into the pattern making.
NOTA BENE: IL MODELLO VIENE CREATO SULLA META’ E PARLERO’ SEMPRE DI META’ MODELLO, MAI DEL MODELLO INTERO.
FYI: THE PATTERN IS ALWAYS CREATED ON ITS HALF AND I WILL TALK ABOUT THE HALF PATTERN, NOT THE OPENED PATTERN.
Cosa ci servirà per procedere? What do we need to keep going?
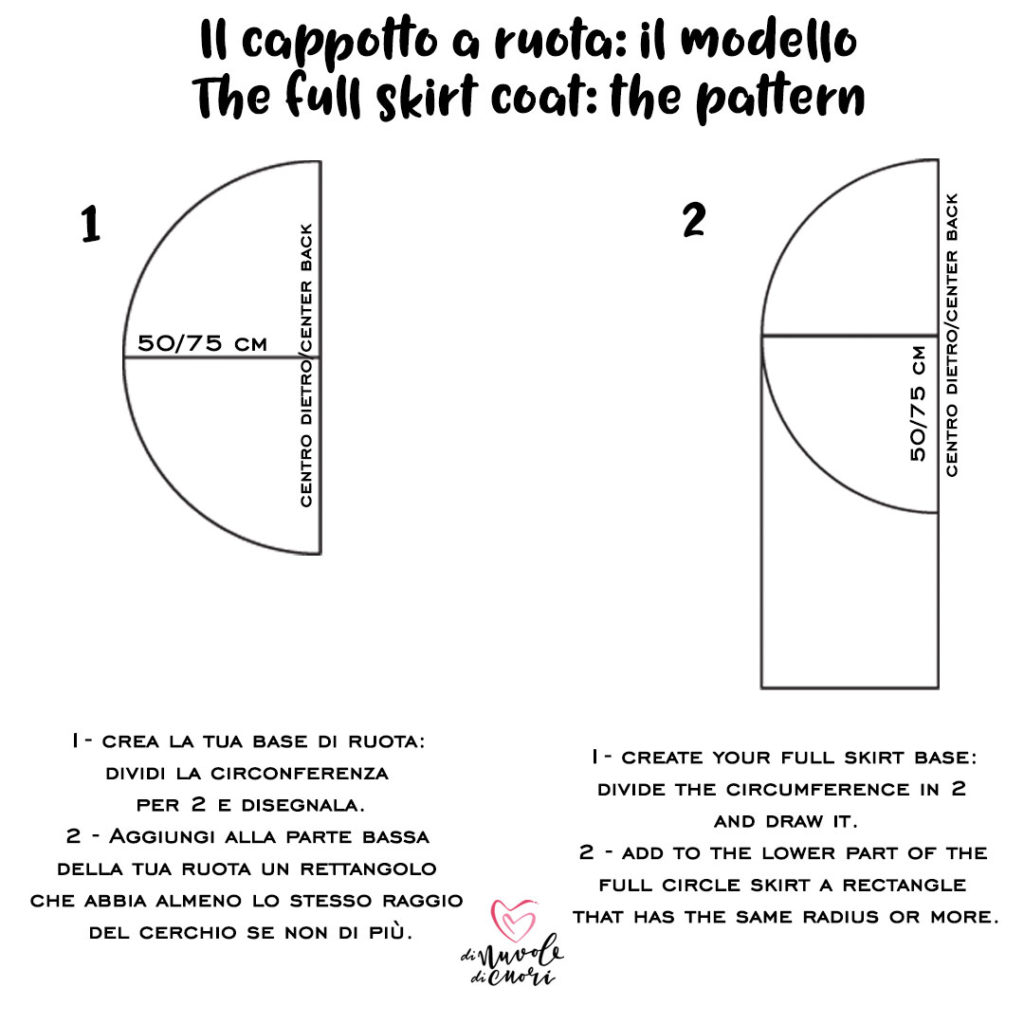
1- Per iniziare a strutturare il cappotto, ci servirà creare un semi cerchio simile a quello che si crea con la gonna a ruota intera e misurare le nostre spalle dietro.
1- To pattern make this coat, we will need a semicircle like the one you create for a full circle skirt and our shoulder measure.
Come si vede nella foto, il raggio della gonna varia dai 50 cm ai 75 cm: perchè?
As you can see, the radius of the skirt can vary from 50 cm to 75 cm: why?
Perchè il raggio si deve adattare alle tue misure.
Because the radius must adapt to your measures.
Mi spiego meglio: io ho scelto il raggio di 75 cm perchè ho le spalle abbastanza larghe, circa 41/42 cm e porto una 48. Se tu hai delle spalle più piccole delle mie, quindi circa 36/37 cm, fare un raggio di 75 cm risulterà troppo ampio per te e il cappotto ti starà molto largo.
Let me explain: I went with the 75 cm radius because I got broad shoulders, almost 41/42 cm and I wear an Italian size 48. If you have smaller shoulders, like 36/37 cm having a radius that big will be not ideal and the coat will be too wide on you.
Questo cappotto, per chiudersi, prevede un sormonto di circa 30 cm sul davanti, quindi quello che ti consiglio di fare è di stendere il foglio, disegnare il raggio e provarlo addosso: in questa maniera avrai più chiare le dimensioni che il tuo cappotto deve avere!
This coat in order to close forecast an overlap of more or less 30 cm on the front, so my advice is: draw the semicircle with the radius you think will fit you better and try it on. This will keep any doubts away and you’ll be sure of what you’re making!
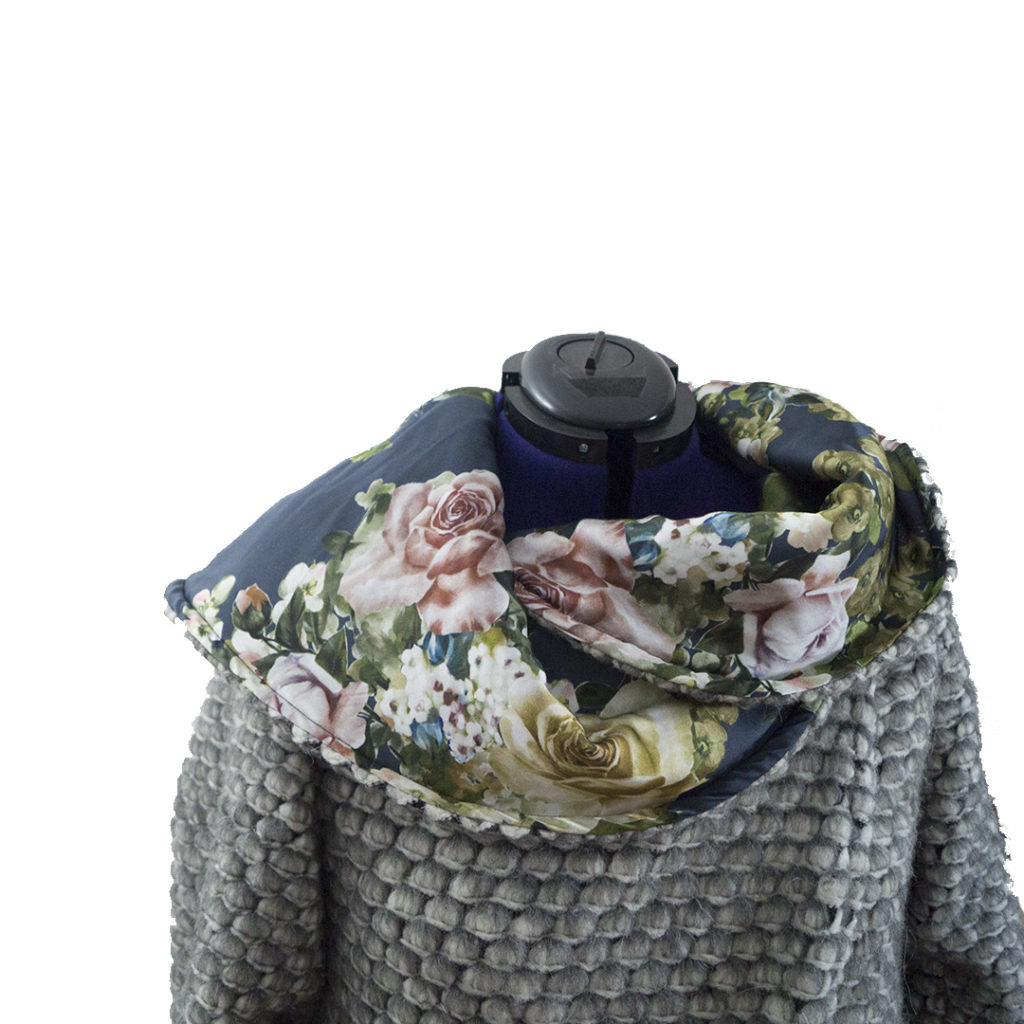
Come si vede all’incirca nella foto il sormonto del tessuto c’è e deve essere calibrato su te stessa.
As you can see more or less from the photo, there’s the overlap and you have to adjust it on yourself.
Continuiamo! Let’s move on!
2 – Ora che hai creato il semicerchio, ti consiglio ti trasformare la parte inferiore del semicerchio in un rettangolo: in questa maniera ti renderai conto se hai bisogno di più lunghezza nella parte inferiore o se il tuo cappotto è già giusto così!
2 – Now that you created the semicircle, tranform the lower part of the semicircle into a rectangle: in this way you’ll be aware if the lenght of your coat is right or it needs to be longer or shorter! This depends on what you are looking for!
Prova il tuo modello addosso come hai fatto prima per testarne la lunghezza: meglio provare con della carta, piuttosto che tagliare il tessuto e rendersi conto di aver sbagliato!
Try on the pattern you’re making to test the lenght: better try with paper instead of cutting the fabric and realize that you don’t like it!
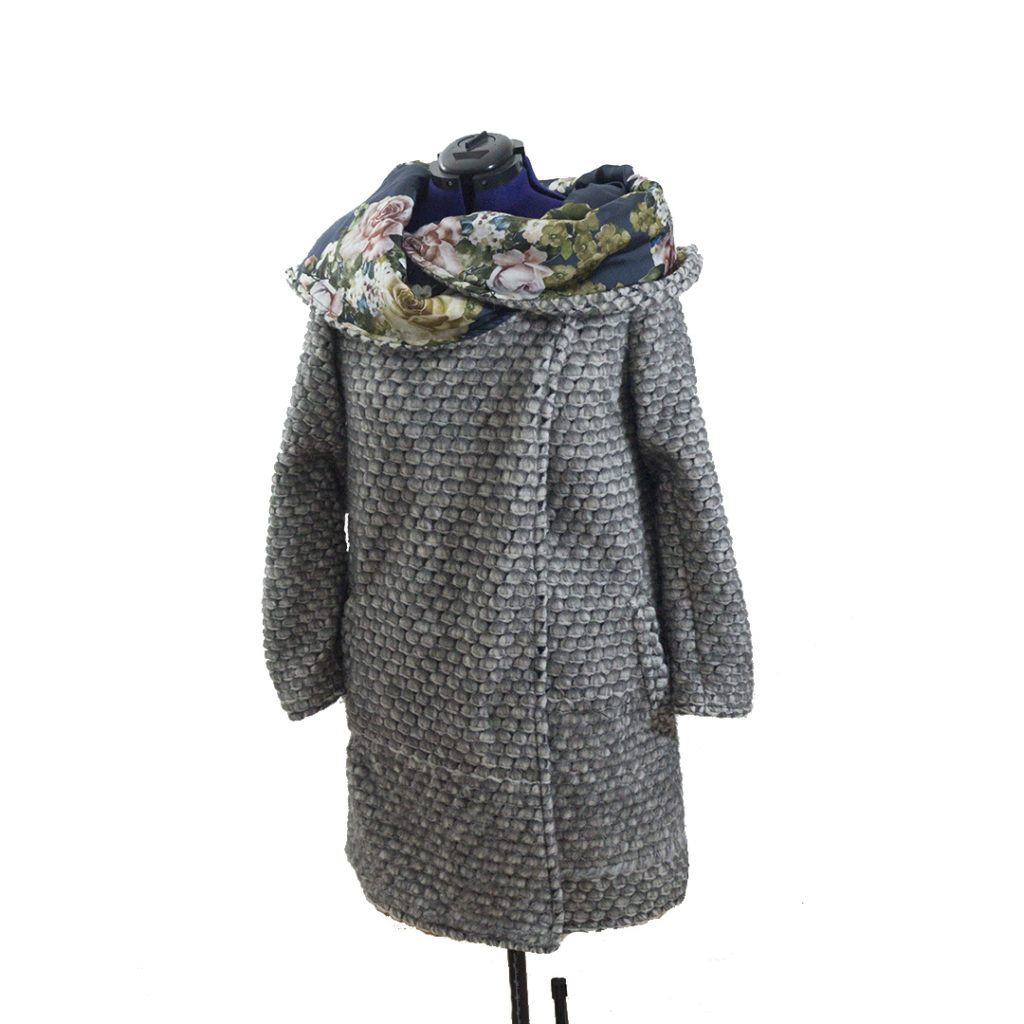
Molto bene, oggi abbiamo creato il primo pezzo del modello, vi aspetto nei prossimi giorni per proseguire!
Great, you just created the main pattern, I’ll wait for you in the next days to keep going with the pattern making!
Se vuoi vedere gli altri tutorial che ci sono sul blog, ti consiglio di andare qui!
Wish to see the tutorial section on the blog? Click here!

Ciao, alla prossima, ti aspetto! Bye, see ya!
Se ti va di seguirmi su Instagram o Facebook, mi trovi con il nome DiNuvoleDiCuori! You can find me on Instagram and Facebook with my name, DiNuvoleDiCuori!
Post in collaborazione con LaFab Tessuti
Autore

Sarta per passione. Pompelmo rosa e cedrata lover. Benvenut*!