Ciao e bentornat*! Oggi il tutorial entra nel vivo con la seconda parte! Welcome back!
La scorsa volta abbiamo preso in esame tutti i vari pezzi del nostro paio di leggings qui, oggi passiamo alla pratica.
Last time we checked all the leggings elements here , now we get into the pattern making.
Cosa ci servirà per procedere? What do we need to start?
1- Innanzitutto ci servirà una base da modificare! Quindi cerca fra i tuoi modelli o fra i modelli dei giornali di cartamodelli, come per esempio La Mia Boutique un paio di leggings classici con la gamba dritta!
1- First we need your basic pattern, so look for it in your patterns or patterns magazines. Chose a basic pattern you it fits you well that has no details whatsoever.

Quando hai il tuo modello davanti a te, parti dal davanti e dalla linea della vita abbassati di 15 cm sia sul fianco che sul cavallo e segna i due punti. Ripeti la stessa operazione sul dietro.
When you have your pattern in front of you, take the front piece and from your waist line mark a point 15 cm from it, both on the crotch and on the side. Repeat the same operation on the back piece.
Continuiamo! Let’s move on!
2 – Ora che hai i punti segnati sia sul davanti che sul dietro, congiungili con una linea orizzontale e taglia la linea che hai appena disegnato. Avrai in questa maniera due nuovi pezzi. Ti consiglio di scriverci sopra il nome, quindi davanti e dietro, poichè la prossima volta sarà necessario ricordarsi del pezzo che modificheremo!
2 – Now that your have marked all the points on the pattern, both front and back, join them with and horizontal line and cut that line you just draw. In this way, you’ll have two new pieces. Remember to write on them their name: next time it’ll be useful to know which part they are!
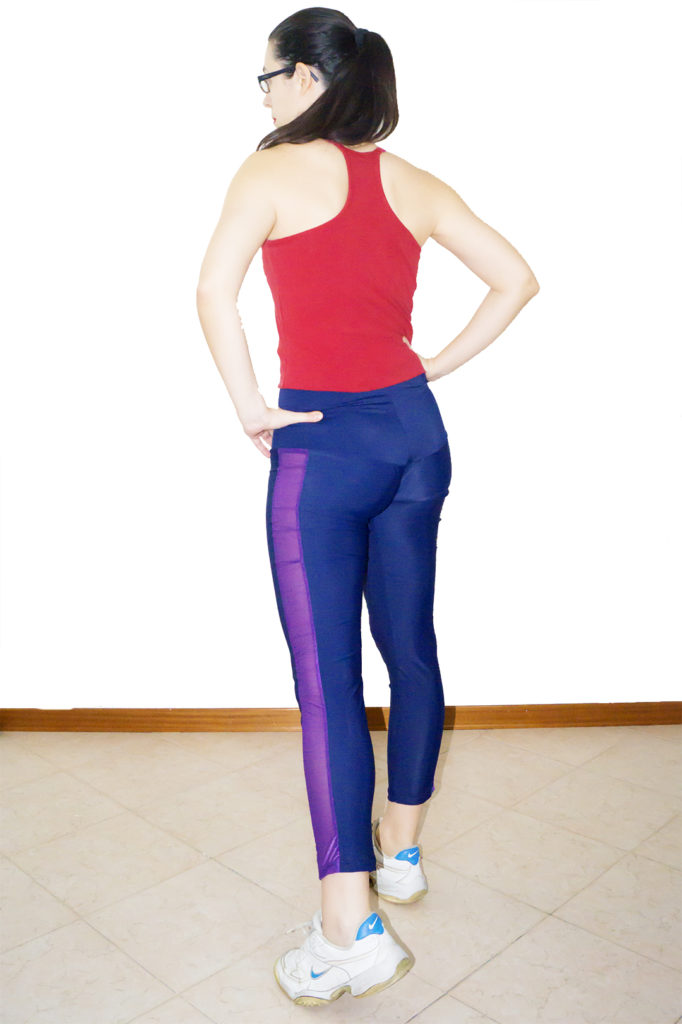
Molto bene, oggi abbiamo creato i primi pezzi del modello del leggings con le bande laterali, vi aspetto nei prossimi giorni per proseguire!
Great, you just created the first pieces of the leggings, I’ll wait for you in the next days to keep going with the pattern making!
Se vuoi vedere gli altri tutorial che ci sono sul blog, ti consiglio di andare qui!
Wish to see the tutorial section on the blog? Click here!

Ciao, alla prossima, ti aspetto! Bye, see ya!
Se ti va di seguirmi su Instagram o Facebook, mi trovi con il nome DiNuvoleDiCuori!
You can find me on Facebook or Instagram looking for DiNuvoleDiCuori!
Post in collaborazione con LaFab Tessuti
Autore

Sarta per passione. Pompelmo rosa e cedrata lover. Benvenut*!