
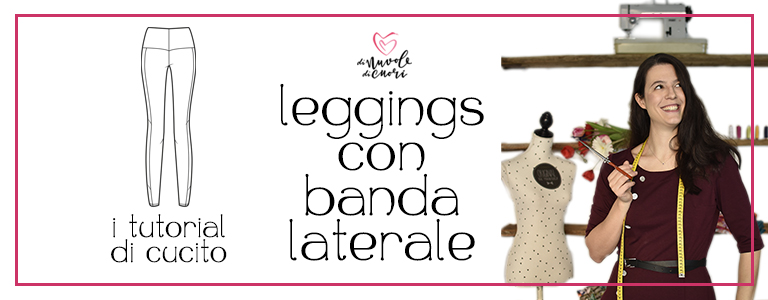
Ciao e bentornat*! Con oggi si conclude il nostro viaggio nella creazione del modello dei leggings! Last day in the pattern making adventure to create our pair of leggings!
Oggi ultimo ripasso di tutti i vari passaggi utili per creare il modello del tuo legging.
Today’s the day when we sum up all the different passages to create your pair of leggings.
Se ti sei pers* le puntate precendenti, qui trovi la quarta parte, qui trovi la terza parte, qui trovi la seconda parte, qui trovi la prima parte.
If you’ve lost the previous posts, here you find part four, here you find part three, here you find part two and here you find part one.
Ricapitolando! A quick recap!
Quindi, partendo dall’inizio:
So, from the beginning:
Punto 1 e 2: Seleziona la tua base per i leggings. Prendi il davanti e, dal punto vita, segna un punto a 15 cm di distanza sia sulla curva del cavallo che sul fianco. Ripeti l’operazione sul dietro. 2- Congiungi i due punti trovati con una riga orizzontale e taglia sulla linea. Rinomina i pezzi, così sai cosa hai davanti.
Parts 1 and 2: Choose the pattern sloper for your leggings. Take the front and from the waist line, mark a point 15 cm from it, both on the crotch and on the side. Repeat the same operation on the back. 2 – Join the two points with an horizontal line and cut the line. Name all the pieces, so that you know what you have in front of you.
Punto 3: Con i due pezzi che hai ottenuto, sovrapponi il davanti e il dietro per circa 2 cm nella parte bassa e incollali insieme. Il pezzo che otterrai
è un quadrilatero intero.
Part 3: With the two pieces you obtained, overlap the front and the back of 2 cm in the lower part. The piece you’ll have is a four sided shape.

Proseguiamo! Let’s go further!
Punto 4: Passa alle gambe dei leggings: dal taglio dalla parte del fianco segna un punto a 3 cm, sia sul davanti che sul dietro. Passa a livello caviglia e dal fianco, segna un punto a 3 cm sia sul davanti che sul dietro e congiungi i i due punti.
Part 4: Now pass to the leg of the leggings: start from the new waist and mark a point at 3 cm from the side, both on the front and the back. Go to the ankle and draw a point at 3 cm from the side, both on the front and back and connect the two points.
Punto 5 e 6: Taglia lungo la linea che hai disegnato sui due fianchi delle gambe. 6 – Crea il rettangolo che inserirai al posto delle due linee tracciate in precedenza. Misura 5 cm di larghezza per la lunghezza della gamba.
Parts 5 and 6: Cut along the lines you drawn on the two legs. 6 – Create the rectangle that will be your side addition: measure 5 cm wide and make it as long as your leg.
E ora cucito! Now, let’s sew!
E dopo tutta questa modellistica, non ti resta che cucire il tuo nuovo legging!
And now, after all the pattern making, sew your new pair of legging!

Grazie per aver condiviso con me questo tutorial! Thank you for sharing with me this tutorial!

Ciao, alla prossima, ti aspetto! See ya!
Se ti va di seguirmi su Instagram o Facebook, mi trovi con il nome DiNuvoleDiCuori!
You can find me on Facebook or Instagram looking for DiNuvoleDiCuori!
Post in collaborazione con LaFab Tessuti
Autore

Sarta per passione. Pompelmo rosa e cedrata lover. Benvenut*!