
Ciao e bentornat*! Terminiamo il tutorial! Welcome back! Let’s finish the tutorial!

Stiamo avanzando spediti verso la fine, oggi! Se ti sei pers* le puntate precendenti del tutorial, qui trovi la terza parte, qui trovi la seconda parte, qui trovi la prima parte.
Off to the last part of the tutorial! If you’ve lost the previous parts, here’s the third part, here’s the second part and here’s the first part.
Cosa manca ancora al mio legging? What’s left to do to my leggings?
Al mio legging manca ancora la creazione della banda laterale!
Your legging needs the side band to be done!

Creiamo la banda laterale! Let’s create the side band!
5 -Parti dalla linea che avei tracciato la scorsa volta e taglia lungo quella linea.
5 – Cut the along the lines you drawn last time here.
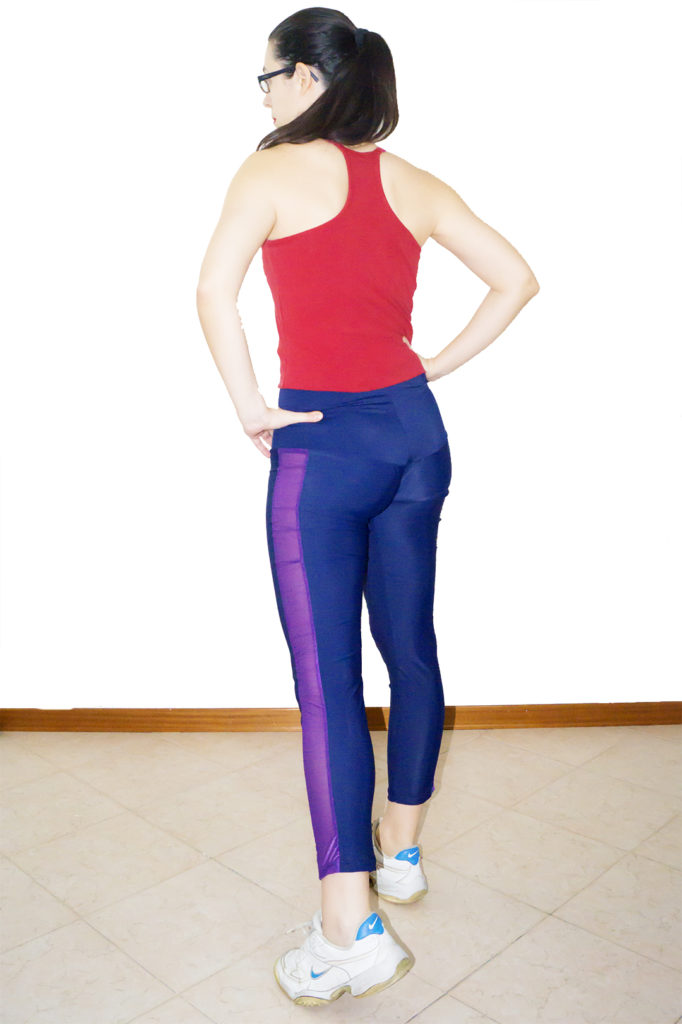
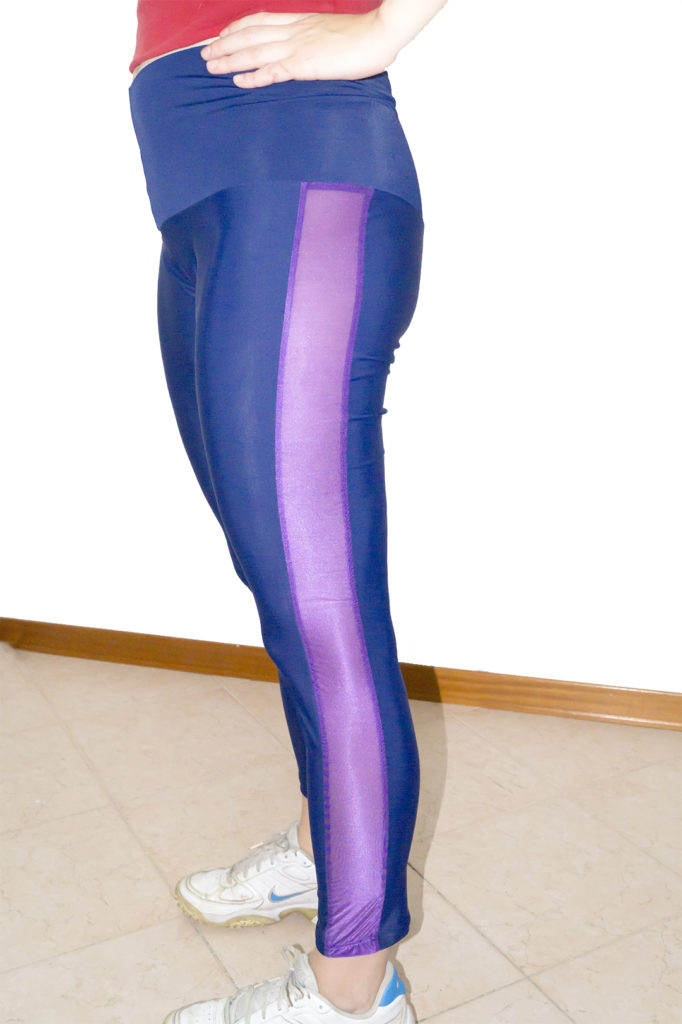
La banda laterale! The side band!
6 – Ora crea il rettangolo che inserirai al posto delle due linee tracciate in precedenza. Misura 5 cm di larghezza per la lunghezza della gamba.
6 – Create the rectangle that will be your side addition: measure 5 cm wide and make it as long as your leg.
Spero che il tutorial ti sia stato d’aiuto! La prossima settimana uscirà il riepilogo completo!
Hope the tutorial was useful! Next week, there’s the recap of all of it!

Ciao, alla prossima, ti aspetto! See ya!
Se ti va di seguirmi su Instagram o Facebook, mi trovi con il nome DiNuvoleDiCuori!
You can find me on Facebook or Instagram looking for DiNuvoleDiCuori!
Post in collaborazione con LaFab Tessuti
Autore

Sarta per passione. Pompelmo rosa e cedrata lover. Benvenut*!